DIY Halloween Pumpkin Garland PDF
£4.50
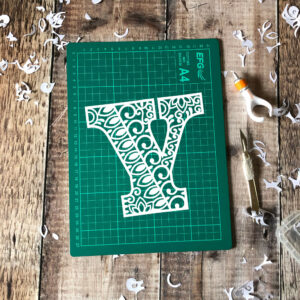
This Halloween pumpkin garland craft is great for kids and adults alike. Instantly downloadable, my Halloween pumpkin garland printable allows you to cut your own pumpkin bunting with 12 DIFFERENT faces! That’s right – I’ve enjoyed myself making 12 different silly faces (only one of them looks a bit scary!)
Ideal for town pumpkin trails, socially-distanced Halloween parties or simply a craft to keep the kids amused during isolation or half term, this template comprises six A4 templates featuring 12 different pumpkin designs plus a sheet of step-by-step instructions with photos.
What is included in your Halloween Pumpkin Garland download:
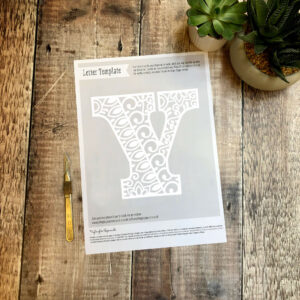
- x1 A4 PDF of step by step instructions with photos guiding how to cut your pumpkin bunting
- x1 A4 PDF of Pumpkin bunting faces 1 & 2
- x1 A4 PDF of Pumpkin bunting faces 3 & 4
- x1 A4 PDF of Pumpkin bunting faces 5 & 6
- x1 A4 PDF of Pumpkin bunting faces 7 & 8
- x1 A4 PDF of Pumpkin bunting faces 9 & 10
- x1 A4 PDF of Pumpkin bunting faces 11 & 12
- That’s 7 PDFs in total
What you’ll need to make your Halloween Pumpkin Garland:
- A4 printer (or access to a printer)
- 6 sheets of orange paper (I recommend 90-120gsm)
- A scalpel or small scissors
- An A4 cutting mat (or A3, whatever you have)
- Double sided sticky tape (or staples, glue or sellotape to stick to the string)
- String (or bakers twine or fishing wire)
How to cut your Halloween Pumpkin Garland:
First of all you’ll need to print your pumpkin sheets out. I recommend printing onto orange 90gsm – 120gsm paper. You can use slightly heavier paper or card stock if that’s all you have. But if it is super thick card it might start to hurt your fingers when cutting.
Make sure you have a self healing cutting mat. These are available in A4 and A3 sizes in most craft stores such as HobbyCraft or The Range. I’ve written more about it in this blogpost – How to papercut using papercutting templates.
You’ll need a scalpel – I use a swivel scalpel and a fixed blade, but it is up to you – works with whatever you’re comfortable with. I’ve written a blogpost about the tools you need for papercutting – so you can read more about scalpels here.
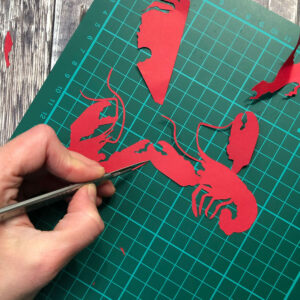
Cut your way through each pumpkin sheet following the printed step by step instructions. Print out as many pumpkins as you need. There’s x2 pumpkin faces per sheet, with 12 in total which makes roughly 1 to 2m of pumpkin garland depending on how spaced out you stick them to the string.
Relax and enjoy!
When you’ve finished I would love to see your efforts so remember to tag me over on Instagram @kyleighspapercuts so I can give you a little cheer!
Design, artwork and images © Kyleigh Orlebar/Kyleigh’s Papercuts. Copyright/usage limitations. This template is strictly for personal, hobby use only. Not for resale (in its template form or once cut). It must NOT be copied, altered, reproduced, sold on or cut and sold under any circumstances. If you’d like to share your progress, please use the hashtag #kyleighspapercuts on social media so I can keep up with your progress. I’d love to see your finished papercuts. Happy cutting!