If you’ve ever wanted to learn how to papercut or you’ve seen beautiful papercut templates and thought “hey, learning how to papercut looks so fun, I want to do that!” then read on dear friends.
I’ll tell you how to create a papercut to be proud of.
And let you into a little secret too… it’s not ALL about the final beautiful papercut artwork.
You’ve guessed it, it’s all about the journey.
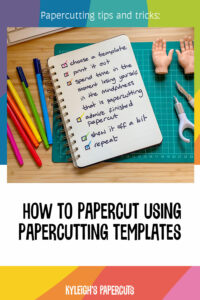
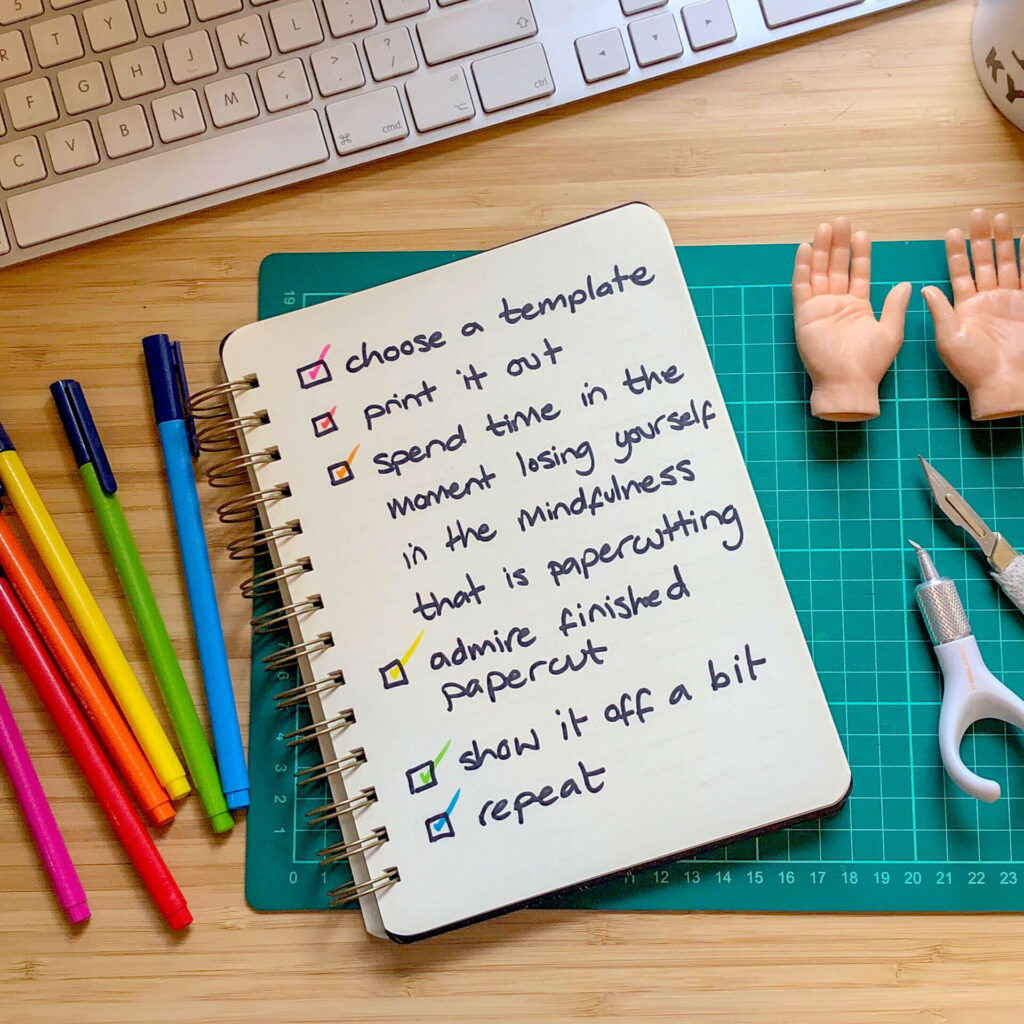
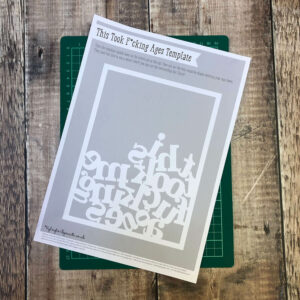
Choose a gorgeous papercut template
Obvious really, but the best way to start is to find a papercut template that gets you excited to want to cut it. There’s no point cutting a free template that looks crud at the end, right?
And man there’s a HEAP of free templates out there, but if you love beautifully designed things (yeah I know this is you, sweetcheeks), then you might need to spend a few quid to invest in a well designed papercut template to be PROUD OF.
With 25+ years as a professional graphic designer/creative director and 10 years of award-winning papercut designs, I feel I can show off a little if you’ll indulge, so allow me to show you some of my beautiful designs:
Instant downloads from my website HERE
Instant downloads from my Etsy shop HERE
Print it out
When you checkout and buy you’ll be given access to the PDF templates which also include a handy practice sheet. So open them up in your PDF viewer (Adobe Acrobat Reader is free to download or if you’re on a mac you can use Open with Preview).
Load your printer with a few sheets of lovely A4 paper. A good paper to start with would be a satin/silk white with a weight of around 100 to 120gsm. So not your standard everyday printer paper which is usually 80gsm. I go into more detail about paper here.
The template and practice sheet are black and white so for you mono printer users – I’ve got your back! And don’t worry if you can’t print edge to edge – I’ve allowed for this with spacing around the edge.
Tool up
 If you have learned how to papercut at one of my workshops, either at my shop or at a festival then grab your cutting mat and a scalpel and crack on!
The rest of you – if you are new to papercutting, read on:
You’ll need an A4 self-healing cutting mat. As the name suggests they ‘self heal’ when the knife goes into them so you don’t ruin your lovely dining table. you can get them at various places – HobbyCraft, Amazon, haberdashery shops etc. If you are keen to get cutting but don’t have a cutting mat, you can use a bit of thick card, PLEASE do take care not to go through!
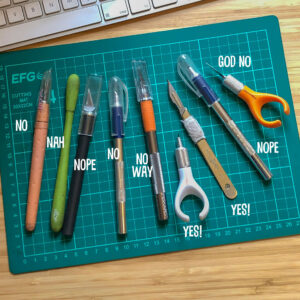
You’ll also need your favourite scalpel. You might have to try a number of different scalpels to find the right one for you. Here’s a pic of just a few of the scalpels I have to hand. As you can see they vary quite a bit but they aren’t hugely expensive and can be picked up at various places like HobbyCraft, The Range and places like that.
What scalpels do I use I hear you ask?
Well thanks for asking, I use a Fiskars Fingertip Swivel Knife and a Swann-Moreton 3 Handle with a 10A blade attached (you can buy them as a set). Both are pictured with the YES above. These are my two true loves. The swivel for tricky swirly bits, and the fixed blade for straight lines.
Cut it out
 Start with the practice sheet and follow the instructions.
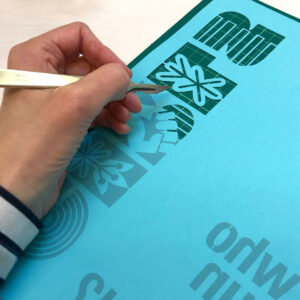
Always hold the scalpel as you would a pen, and cut towards you in a controlled manner.
Work your way through the practice sheet which will have different shapes to cut out depending on what template you went for.
When you’re feeling confident, then it is time to embark on your template.
Enjoy spending time in the moment and losing yourself in the mindfulness that is papercutting.
There will be instructions on your template – be sure to follow these and concentrate on your papercutting and you can’t go wrong. Everyone who comes on my workshops find out that it is THE most relaxing thing to do. They never want to stop!
Admire your finished papercut
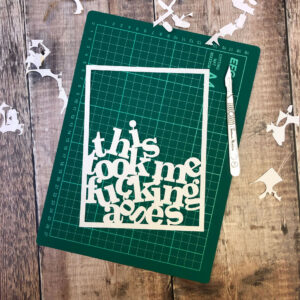 When you’ve cut the last bit of paper from your papercut template, stop. Put your scalpel down. Admire.
I see it time and again with people that come to my papercutting workshops – folk just keep on cutting.
The thing is, they are bending over it, so close to it that their attention goes to every imperfection, every little hairline of paper sticking out. They cut and trim and slice in an effort to make it perfectly perfect.
Our eyes are so used to seeing typography as perfectly perfect. The only way to create a papercut perfectly perfect is to a) practice until you are amazing at cutting perfectly perfect or b) machine cut it. Which we all know is cheating.
May advice to you is – if it is an obvious stray bit of paper that can easily (and carefully) sliced off then do it. But step AWAY from your papercut, you will never look at it up close when it is hanging on a wall.
Show it off a bit
There are various ways to show it off to make the most of your creation.
The BEST way would be to frame it between two bits of glass in a floating frame (hello Ikea! hello Matalan!) but PLEASE make sure you buy the correct size frame. If you’re in any doubt then measure the edges of your printed out template, and make sure your chosen frame has enough room around all the edges so it doesn’t look hemmed in. It needs room to breathe…
If you have a standard frame with a back then you can show off your papercut by mounting it onto coloured card or paper. You can do this by using a tiny glue dot on the back of your papercut, or a tiny bit of spraymount. Then you frame as usual.
Repeat
By this time you’ll be slightly obsessed and you’ll NEED another template. I add new ones every month for your cutting pleasure…
If you want to challenge yourself then might I suggest ordering a personalised family tree template for you to cut? It comes with full colour photos of step-by-step instructions so it is like I’m guiding you through each and every cut.
Hungry for more? Come along to one of my workshops from my papecutting studio in Wimborne, Dorset
If you liked learning how to papercut, gimme a pin!