How to insert a Swann-Moreton scalpel blade
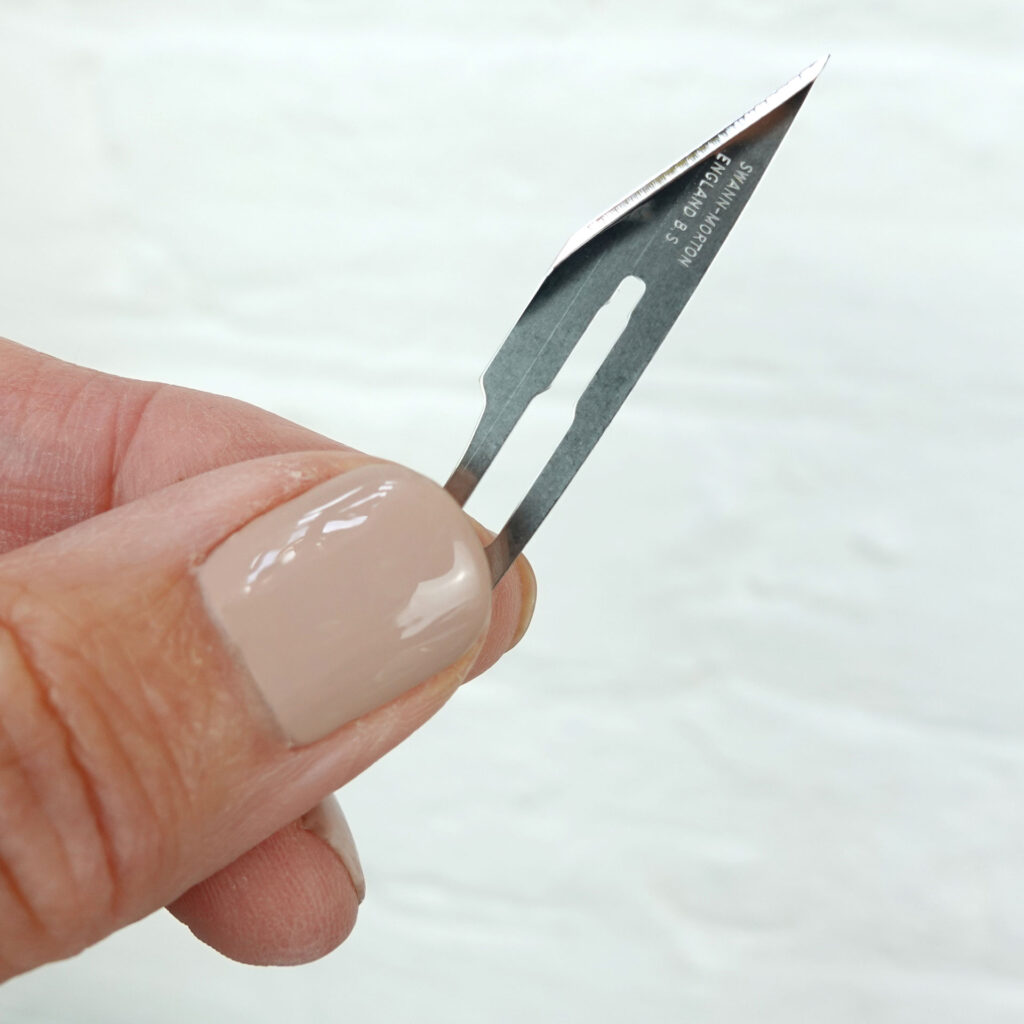
Are you a crafter struggling (or nervous) to insert a new Swann-Moreton scalpel blade? They’re such sharp little blighters I don’t BLAME you for being scared. but listen up scaredy cat, I GOT YOU. Follow my fail safe tips for inserting a new Swann-Moreton scalpel blade and you’ll be back papercutting and crafting before you know it. In these instructions I am inserting a 10A Swann-Moreton scalpel blade into a Swann-Moreton No.3 handle.
I know some people use pliers and there’s even a nifty little box thing you can buy that does it for you (not tested by myself, might be amazing) however I’ve always done it this way and it’s super easy when you know how. These instructions assume you’ve got the old blade out or it’s a brand spanking new scalpel handle in need of a blade.
Need to remove the blade first? Learn how to remove a blade here.
Right, shall we get that new blade in? You’ll need: Scalpel handle, new blade and a cutting mat.
Grab your blades
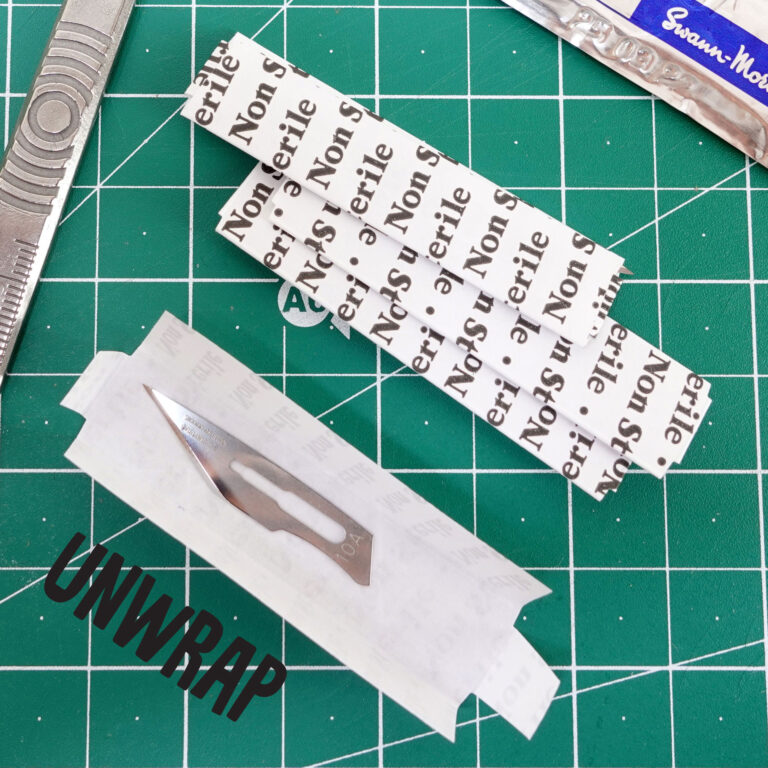
The Swann-Moreton foil replacement blade packs contain five blades each wrapped in paper. Tear down the edge of the foil and take out one of the blades (try to leave the rest in the foil).

Unwrap your blade
Carefully remove the blade from the paper ad pick it up by the bottom edge. Careful now Father, it's really blinkin' sharp!
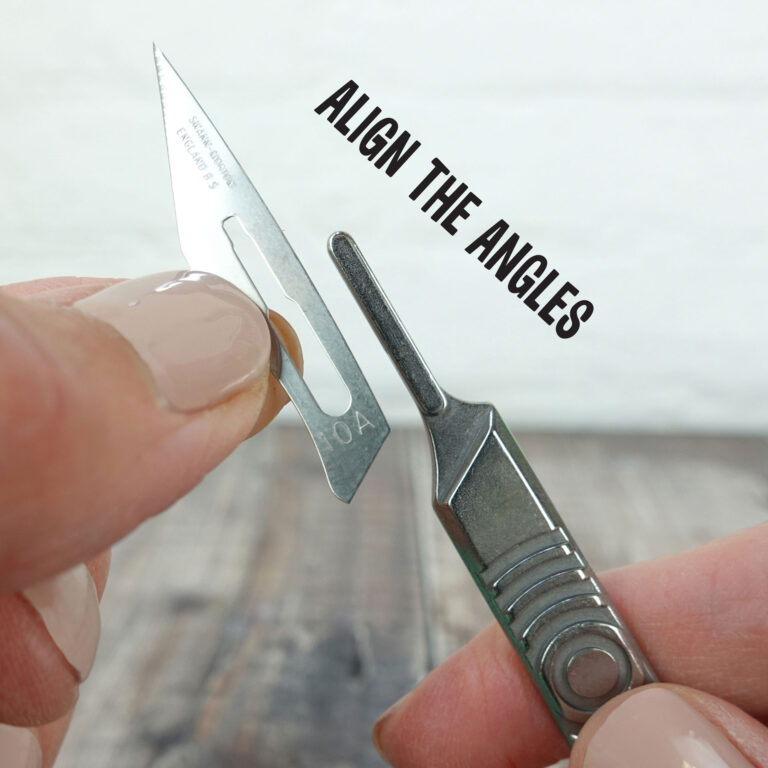
Align the angles
Can you see the bottom of the blade has a sloping angle? Grab your scalpel handle and locate the side with a similar twin angle groove. Line up the angles. Can't see a groove? turn the handle over.
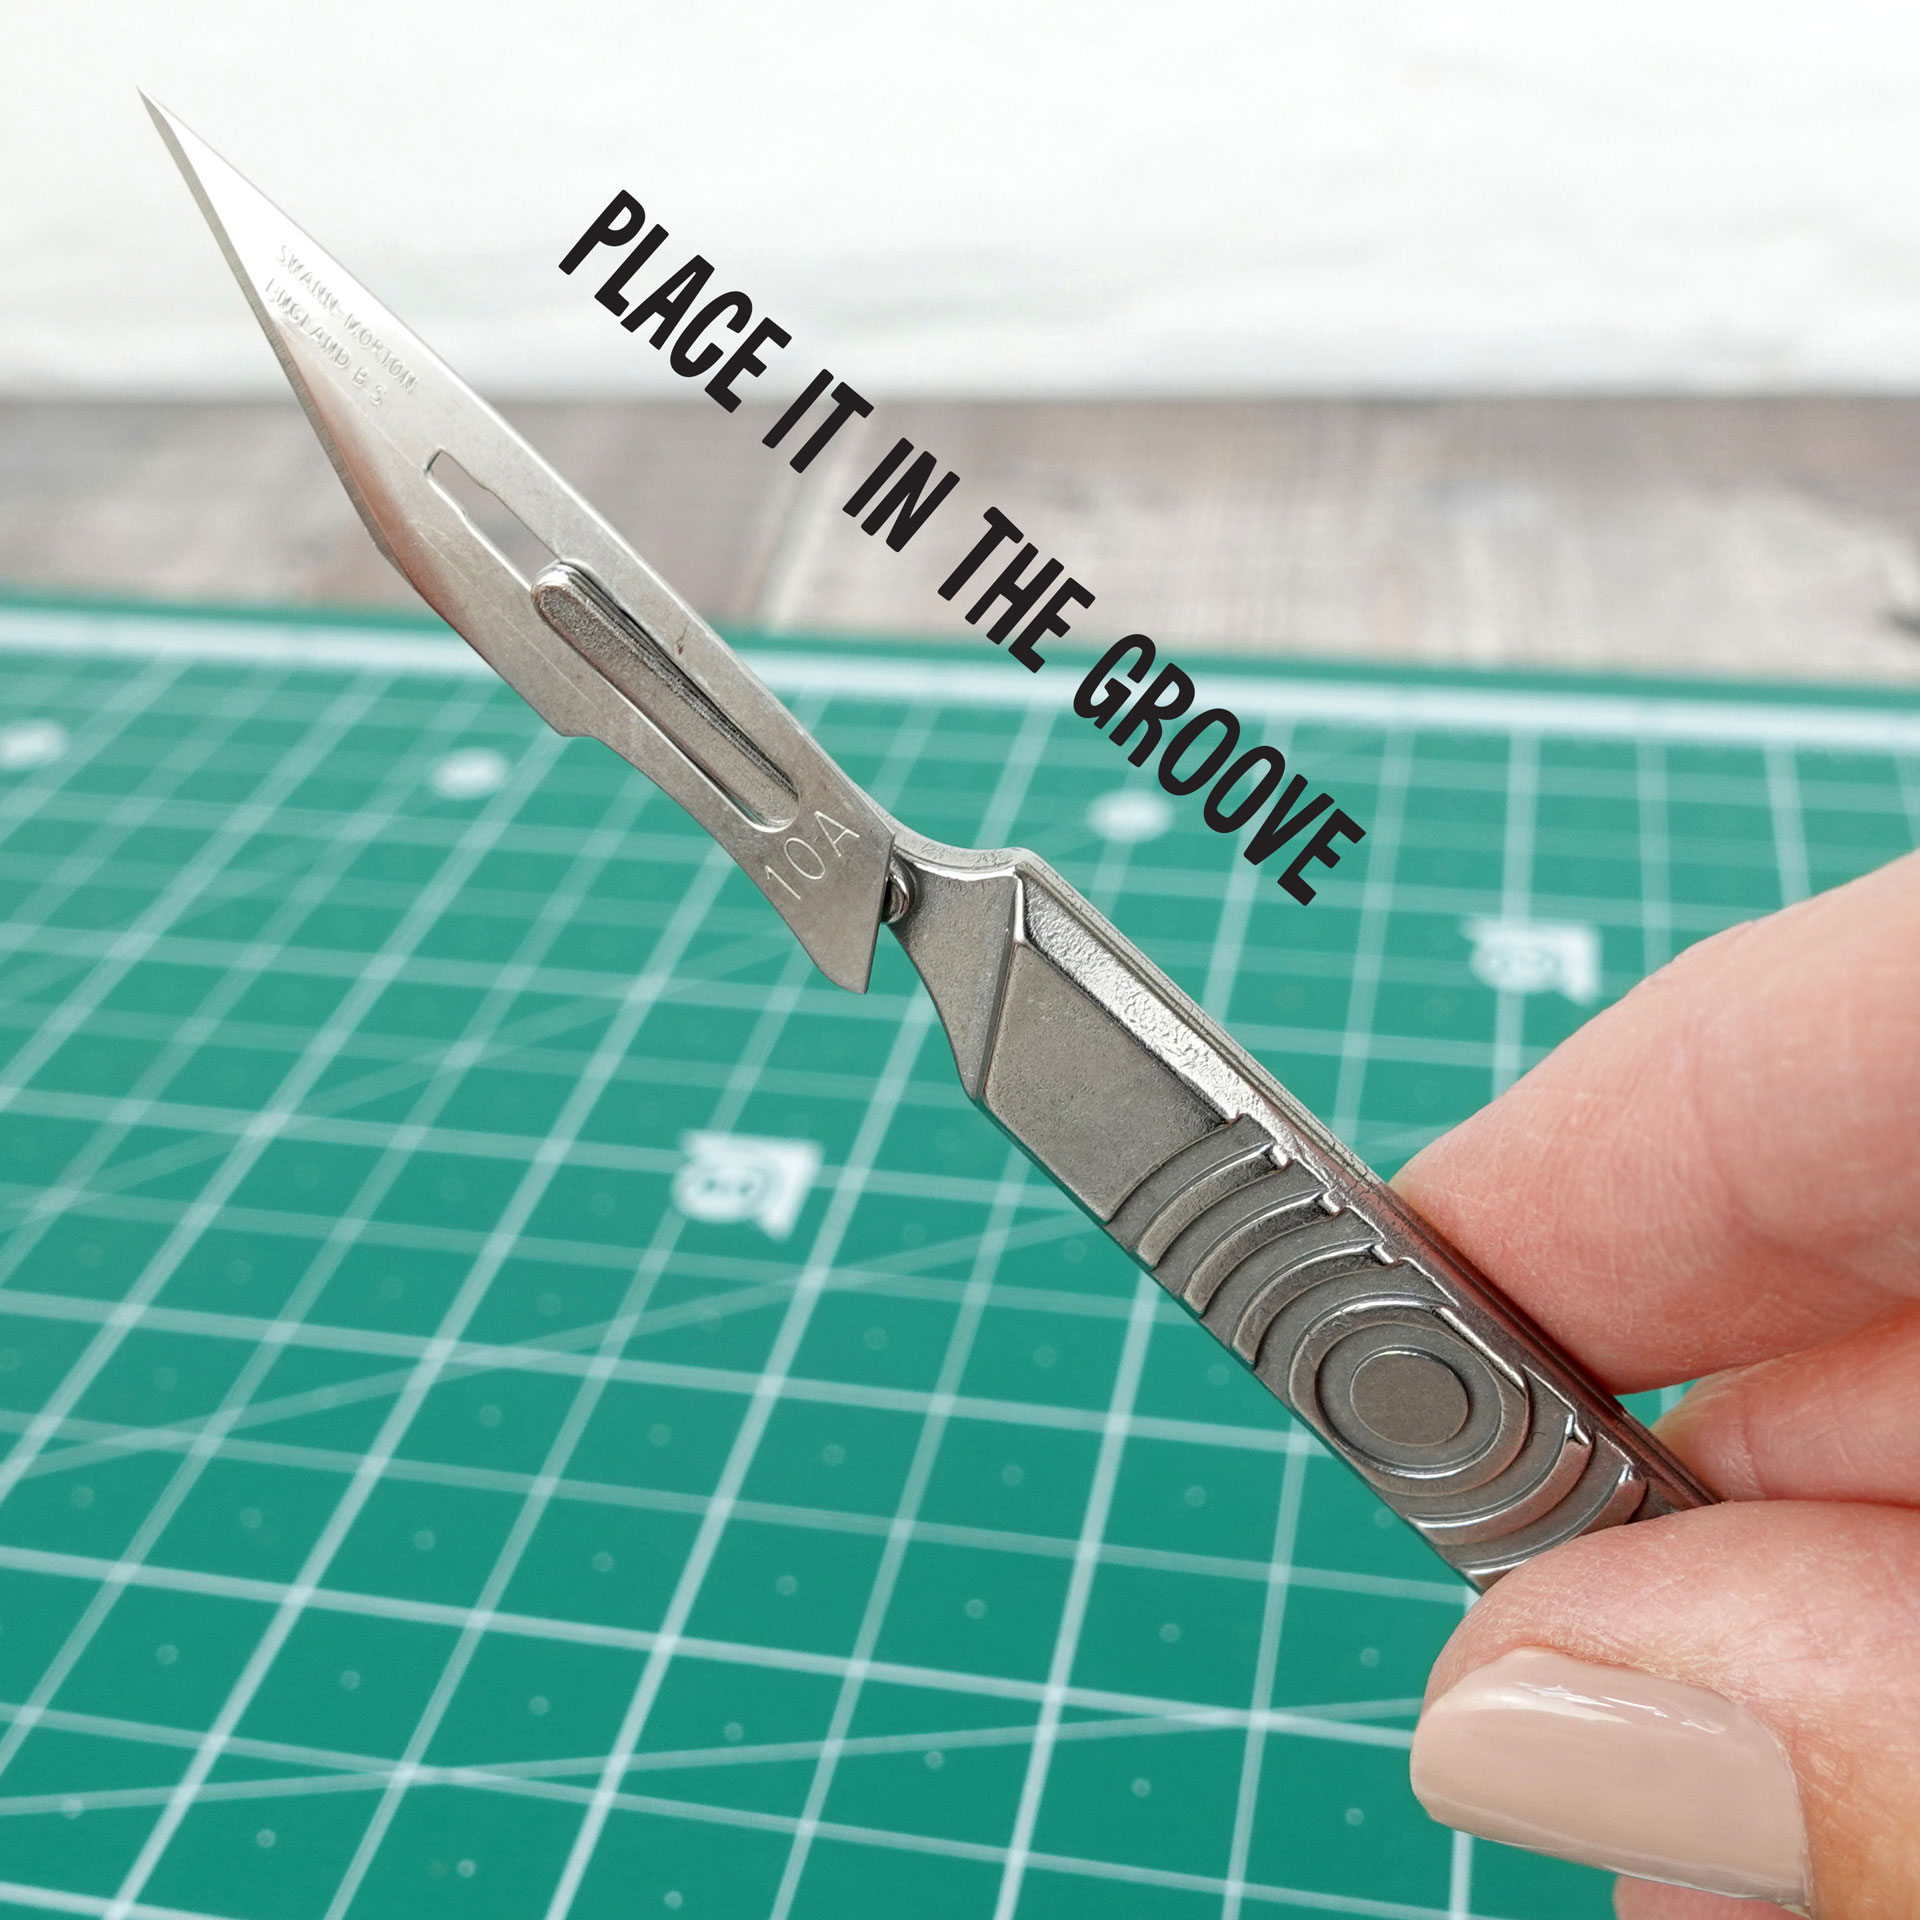
Get into the groove
Can you see the bottle shaped hole in the middle of the blade? Place this hole on top of the stem of the handle. There's two grooves on the stem. When it's resting on the grooves STOP. Don't push it anymore with your fingers.
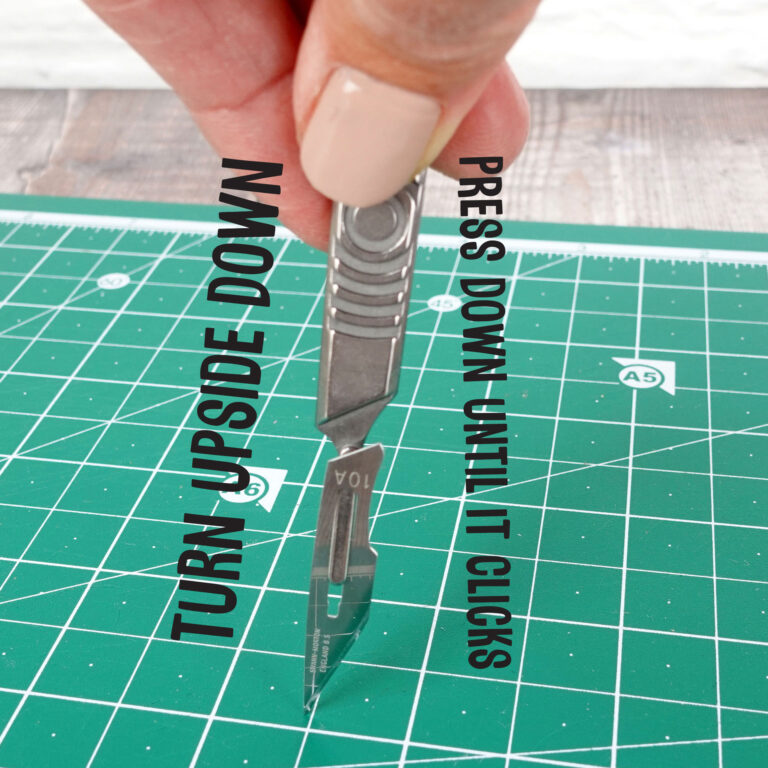
Turn upside down
Slowly turn it upside down so the tip is resting on the cutting mat and the handle is vertical.
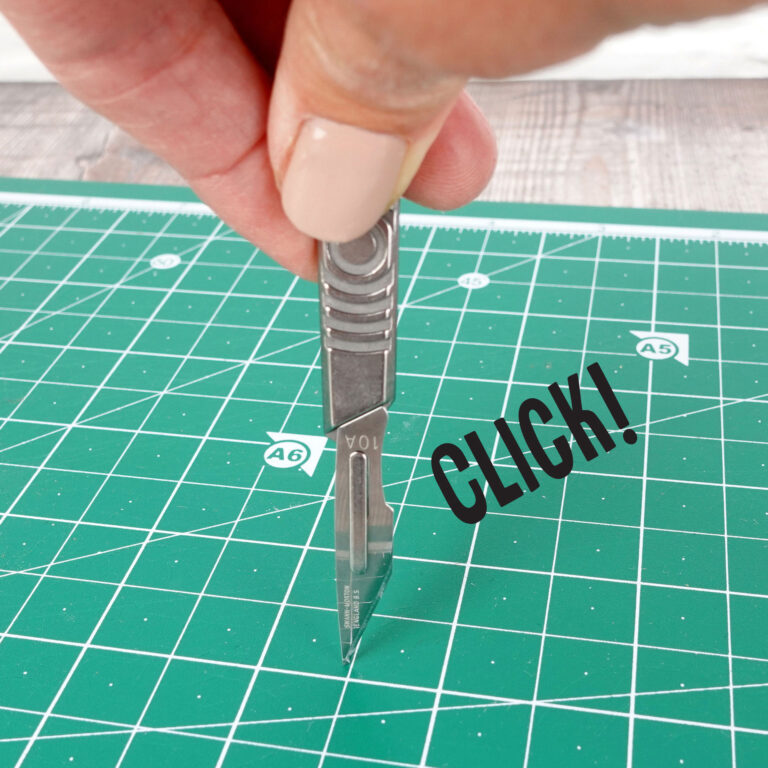
Press down firmly
Hold the handle and press down firmly until you hear a satisfying CLICK as the blade moves into place.
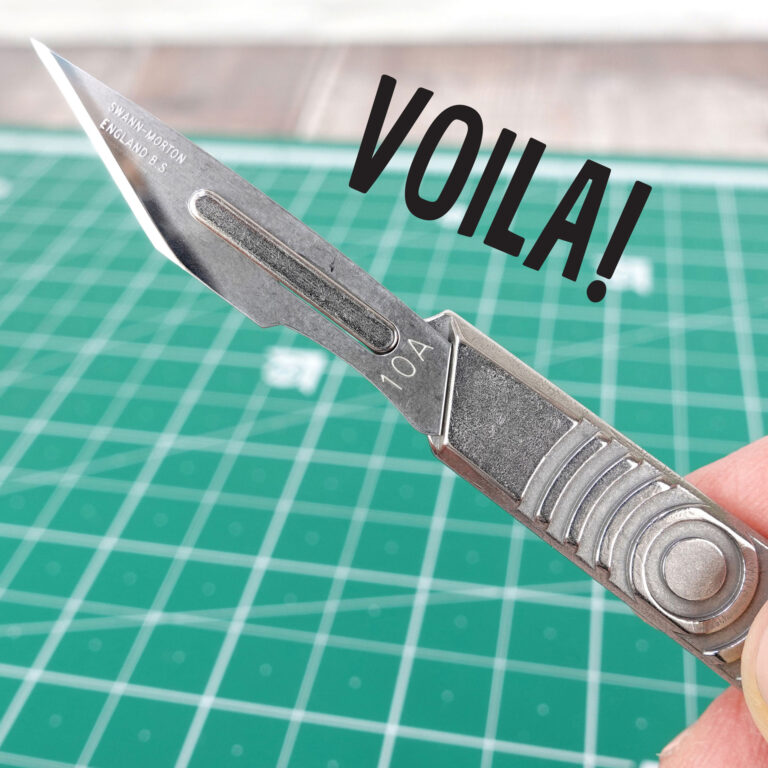
Voila!
If the blade is in the correct position you'll see it is nestled perfectly in the angled groove; the blade is firmly in place with no gaps.
Simple when you know how, right? I hope that was easy for you to follow and you now have a shiny new (and very sharp!) blade for your crafting.
For more papercutting tips, hints, tricks and techniques you can buy my papercutting book here (direct from me) and also on Amazon and Bookshop.org (both affiliate links). You can also buy it direct from my publisher Crowood Press.
You can buy Swann-Moreton No3 handles from Amazon here and packs of Swann Moreton 10a blades from here (affiliate links)