How to make an Autumn leaf garland
I just adore Autumn don’t you? It casts a beautiful muted light on everything as the year gives her last and most beautiful smile. Autumn teaches us that it’s ok to let things go. That it’s ok to hunker down, safe in the knowledge that we’ll bloom again.
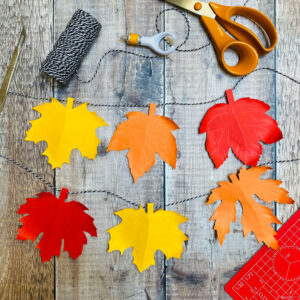
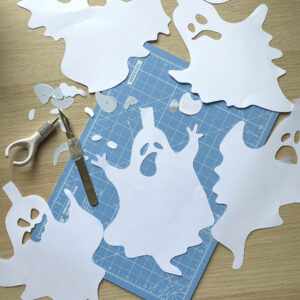
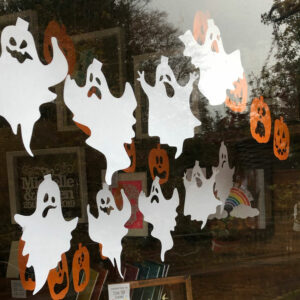
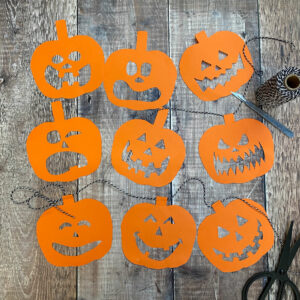
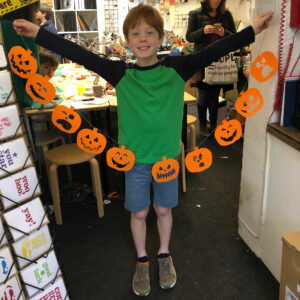
So I’ve decided to honour this beautiful season with a DIY Autumn leaf garland craft that can be enjoyed throughout this beautiful season. It’ll accompany my pumpkin bunting and ghost garland Halloween decorations, but where halloween decorations are fleeting, this can be enjoyed for a little longer.
Autumn leaf garland– what you need
- Scalpel or scissors
- A4 Cutting Mat
- Access to a printer
- A4 coloured paper in Autumn shades
- Glue stick or double sided tape
- Twine, string or ribbon
SCALPEL – I like to use a Swann-Moreton 3 handle and a 10a blade, I’ve added affiliate links below but you can get scalpels quite readily at craft shops like The Range or Hobbycraft. I also use a Fiskars Fingertip Swivel Knife for curves – you either love a swivel blade or hate them! As you’ll find out if you come along to a workshop.
Affiliate links: Fiskars Fingertip Swivel Knife | Swann-Moreton 3 Handle & 10a blades
CUTTING MAT – Needs to be ‘self healing’ cutting mat which means you can cut on it and it will ‘heal’. A good one will bear the brunt of your cutting and maintain a lovely surface. A cheap one will soon break apart leaving indents in the surface.
Buy: A4 cutting mat by Humbrol
Step 1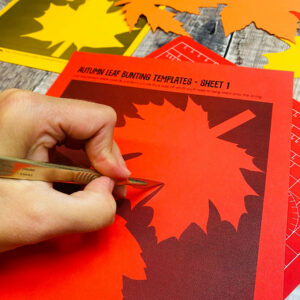
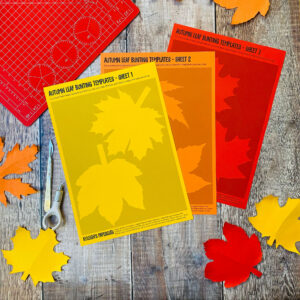
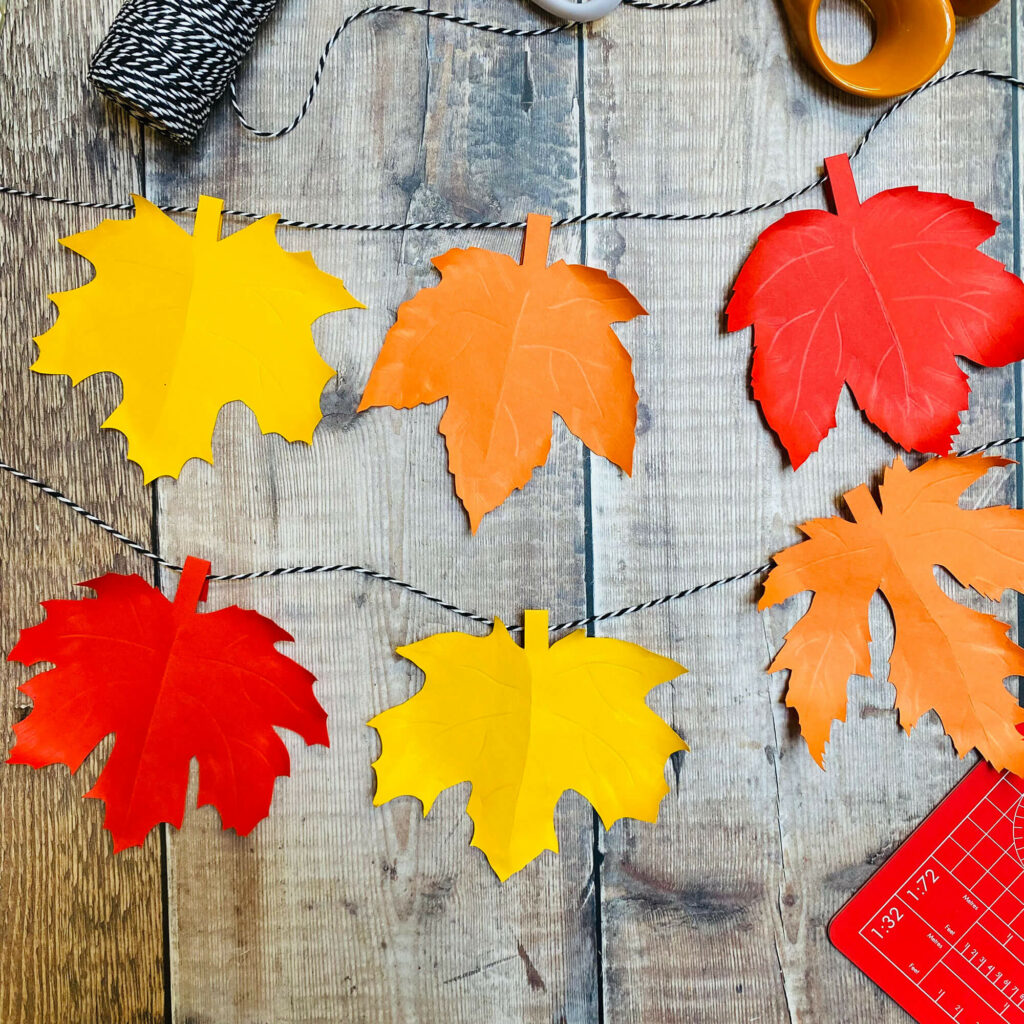
Buy and download my Autumn Leaf Garland here – There are 3 sheets each with 2 leaf designs on each page giving you a total of 6 individual Autumn leaves. I suggest printing x2 of each template on different Autumn coloured paper so you have 12 differing leaves for your bunting garland. You can of course draw your own leaf shapes – but for the price of a coffee I’ve done it for you 🙂
Grab yourself sheets of A4 Yellow, orange, red, purple, brown and even gold would work beautifully.
I recommend using anything from 90gam to 120gsm paper, I have written an extensive blogpost on different paper weights which you can read here.
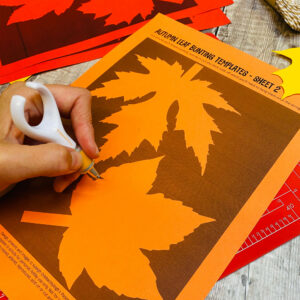 Step 2
With your printed sheet on your cutting mat, begin to cut around the outside of each leaf shape holding the scalpel as you would a pen. Always cut towards you in a controlled manner and aim to keep your cutting ‘within the lines’.
It doesn’t matter too much if you come off the lines as we’re cutting the back.
You can also cut around each leaf shape using a pair of scissors if you’d like – it’s up to you!
Be sure not to cut the thick stalk off as you’ll need this to be able to hang the leaves on the twine later.
Step 3
Continue to cut all the lovely leaf shapes. Don’t rush, it’s not a race. Enjoy the mindful meditative nature of papercutting – you’ll lose yourself in the relaxing and satisfying journey. So pop on a podcast or audio book and enjoy.
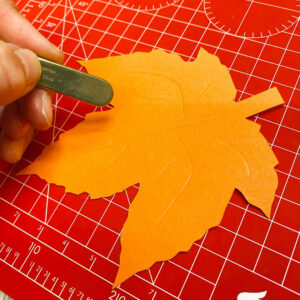 Step 4
When you’ve cut all your leaves out – turn them over so any grey edges are on the back (with a bit of luck you’ve cut them al so well there won’t BE any grey edges!).
Then turn your scalpel upside down or grab something blunt you can use to score lines – such as a blunt dinner knife. I used the handle of my scalpel which worked perfectly.
Score or mark the veins on each leaf – going down the middle and coming off in branches, with branches on those branches. Go simple or super detailed as you see fit.
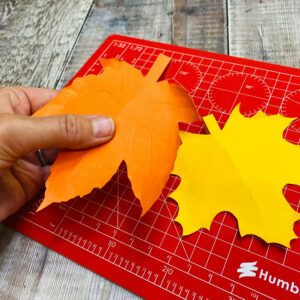 Step 5
Lightly folded along the main middle vein – not too much, just enough to give it texture.
Then holding on to the leaf, take a blunt dinner knife or your nail, and score outwards in short strokes along the edges of the leaf.
This should make your Autumn leaf look curly around the edges which will add to it looking even better than it does already!
Continue to do this to all your leaves – scoring the veins, folding the middle vein and curling the edges upwards.
 Step 6
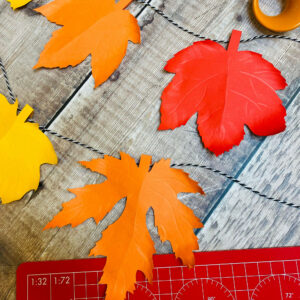
Now it’s time to grab your double sided tape (or glue stick) and your twine (string or ribbon). Work out the order you want your leaves to hang in – and leave enough twine at both ends to be able to hang it.
Place each leaf face down and find the tab at the top. Fold it in half and score. Unfold again and put a slither of glue stick or double sided tape onto the tab, place the bakers twine, string or ribbon on the crease of the fold and fold down on top of the glue. Hold in place until the glue sets a little.
Continue sticking all your leaves on to the twine, remembering to leave a gap between each leaf. Hang it up and enjoy!
I recommend hanging it on a mantel piece, a dresser, or in the window – and as Halloween approaches, don’t forget to make my Pumpkin bunting and Ghost garland to add to the Autumn decorations!
I’d love to see how you get on – if you’re on Instagram, pop over there and tag me because I LOVE to see your creations and I’m happy to reshare to my stories if you’d like – always great to get a virtual high five!
Take care and happy cutting folks!
Kyleigh x